Mini Mammoth Part 3: Modelling and Topology in 3D-Coat
Posted on March 05, 2012 - category: character-rigging
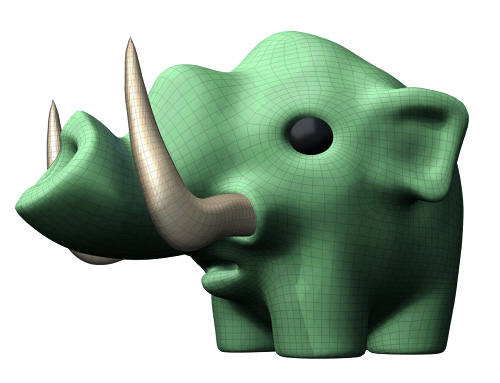
Here is Part 3 of rigging Mini Mammoth. I’ve now got a finished model. This turned into a huge step, because I was learning a ton about modelling and topology in 3D-Coat, which turned into a 2-week long adventure of tutorials and manuals. I made a lot of mistakes as well which I’ll talk a little bit about. All in the spirit of learning!
This is the last post before I get into the actual character rigging.
First, I decided that I liked how the prototype model looked, so instead of starting from scratch, I began editing it. I started by carving out a mouth cavity and lowering the eyes.

The funny thing about this entire process was that after I finished tediously making a change, I found a feature in 3D-Coat that makes it fast and easy!
For example, to change the eye, I filled in the eye sockets, transformed the eye geometry down, and then using the Sphere tool, gouged a new hole for the eye sockets.. After that, I learned that you can create a low-resolution cache, make changes and then propagate those changes back to the high-resolution voxels. This lets you make big changes to the structure of your model without destroying the finer details. (Otherwise, if you just move things around, you’ll tend to get a mushy mess.) I could have done this and used the move tool to lower the eyes very quickly.
In fact, using the low-proxy cache is a good workflow for modelling non-linearly, because even after you have details, you can change proportions and posing. I’ve started doing this now, and it has loosened me up a lot. It is also far faster to edit, because it is lower resolution.
Another example, after I took all these screenshots with different angles, I found out that you can save camera angles. That would have been better for the comparison shots in the topology stages below. It would also be good for making animated gifs of time-lapse progress.
Next, I made a few changes to the nose and ears to make the edges look a bit more hard and defined. I also removed the tail and the eyebrows. (I’ll add those separately later.)
Mesh Retopology
I decided to call it done and moved on to the Retopo tool for creating my polygon topology. This was an exciting stage, because I wasn’t aware until a few months ago that tools like these existed. Modelling used to be a relatively tedious process, and now it feels very artistic in comparison. (I would also like to try ZBrush someday.)
The concept here is that you have your voxel model underneath, and you are adding polygons on top to the surface. So you can use the auto-tools or just draw polygons manually.
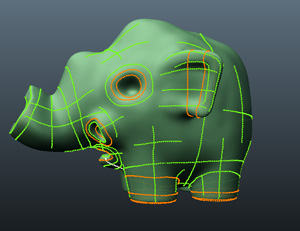
I did a few experiments and followed a couple of tutorials, but I was new to this. The best part about this tool is that it is iterative. You create a few “suggestion strokes” and then run the tool and see what you get as a result. If it is very messy, you just delete the polygons and run it again. (Or keep the polygons and stitch them together from various layers.)
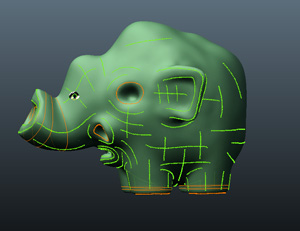
Different patterns of suggestion strokes results in different mesh topology. Orange lines are closed loops, and green lines are directional indicators. The dark area indicates where you want more density. Eventually, I rested on the 3rd iteration below:
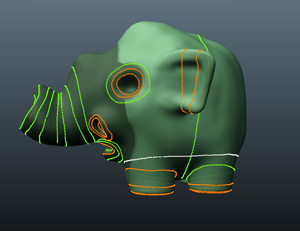
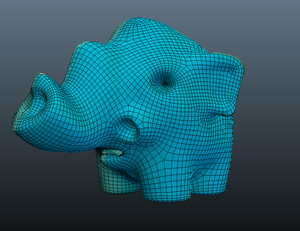
Now at first glance that might look pretty clean, but there are several 5-sided polys, triangles and a whole bunch of spiral edge-rings. The legs were especially problematic. So with the results as a starting point, there is some clean-up to do.
This is the stage where I wasted the most time!
At this point I wasn’t sure how many polys to use. In hindsight it turns out I was using too many, because it is very easy to sub-divide later. It made editing more cumbersome. I was sliding edges around one-by-one, deleting and merging polys and then hitting “Relax” to smooth out the results. When you hit “Relax”, sometimes things you don’t want to move will shift around and warp. So slowly, my edge-rings around the legs were drifting and getting crooked.
After a long tedious session of these types of edits (which by the way were a JOY compared to the old way I used to model years ago.) I found two powerful features that I had missed:
1. The “Brush” tool. How did I miss this!? It is brilliant. Using the brush tool, you can slide regions of vertices around. The beauty of it is that it stays adhered to the voxel surface below, so you can really get loose and messy. Hold down shift (as with most tools in 3D-Coat) and you can relax and smooth the vertices, again while sticking to the surface. This solved my drifting problem with the Relax tool and made the whole process 40X easier! (give or take a few X’s.)
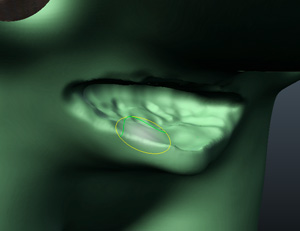
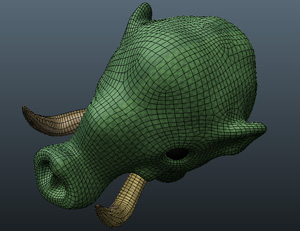
2. You can delete polygons and use the Strokes tool manually. I thought the Strokes tool was only part of the Auto-Retopo tools. With that in mind, I deleted and rebuilt the eye region, to get a better round edge-loop structure on the face.
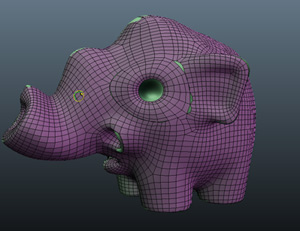
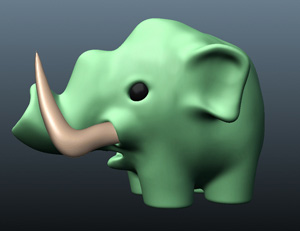
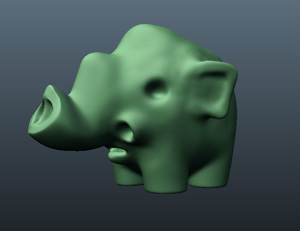
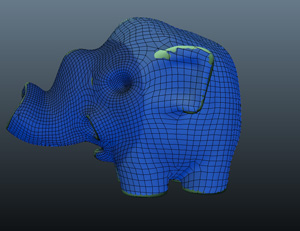
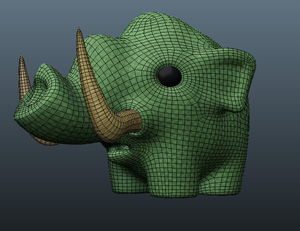
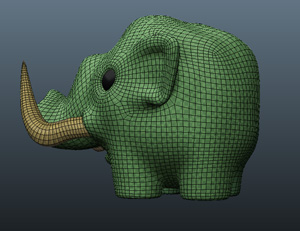
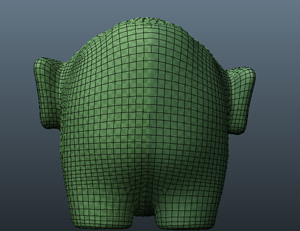
So yadda yadda yadda… I kept doing these edits, especially around the mouth and legs and now I have a finished body model with 6892 faces. There is still a weird portion on the inside of the leg where the polys are running a bit diagonally and might cause artifacting, but I am going to test in Maya before I bother spending too much time to fix it. We might never see it. All in all, I’m happy with everything I learned and I know I could model more characters even faster.
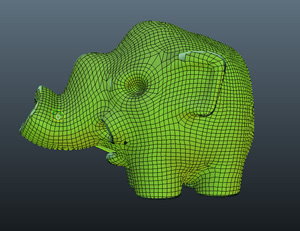
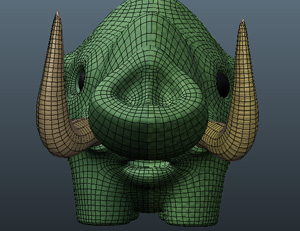
The Result:
Next Step: Export to Maya for Rigging
With a nice clean mesh, I think it will be possible to create some great squash-and-stretch cartoony effects. I’ll save the UV unwrapping for later. (This is another easy tool in 3D-Coat.) The next step is to begin doing some rig tests and prototyping. There is a chance I’ll have to make some changes.
- Will the geometry deform properly? (quick skinning tests)
- Should the trunk have been modelled straight? (I might still have to fix this.)
- Prototype a cylindrical auto foot-roll, which can roll in any direction.
- Model small details like tongue, tail, teeth and eyebrows. (and possibly some tufts of fur and other details.)
- Create some nicer, asymmetrical tusks.
This post is part 3 of the "mini-mammoth" series: