Mini Mammoth Part 2: Sketching & 3D Sculpting
Posted on January 23, 2012 - category: character-rigging
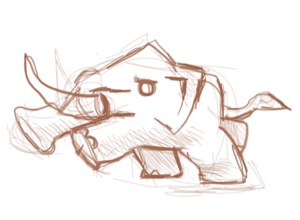
So now we are on to part 2 of the Making Of Mini Mammoth where I am documenting the entire process of designing a cartoony character rig. In this step, I am doing a bunch of sketching from photo references and sculpting a quick prototype 3D model to get even more ideas. We’re almost ready to start the actual modelling, but first…
Sketching Solves Problems
Design-based drawing is ultimately about solving problems, so quality isn’t at all important compared to just looking and observing the world.
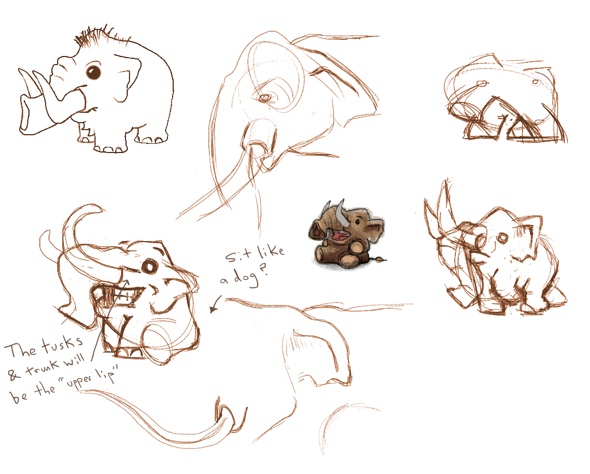
Design sketches for Mini Mammoth
I’m not the best draftsman, and they are definitely not going to dedicate an Art-Of book to me just yet, but it is a very important step to visually work out all the things we’ll have to pay attention to when we get to the character rigging stage. Drawing is also very important because it is fast. You can collect a lot of ideas in a short period of time and end up surprising yourself with ideas you would not have thought of if you had been tempted to jump straight into modelling.
Even when I am coding Python tools, I often find it very helpful to draw out my ideas first. I constantly keep a notebook full of notes and doodles beside me.
At this point, I’m just trying to get lots of ideas for shapes, style and proportions. This is one of the most fun steps because anything goes. I even spent some time drawing bears.
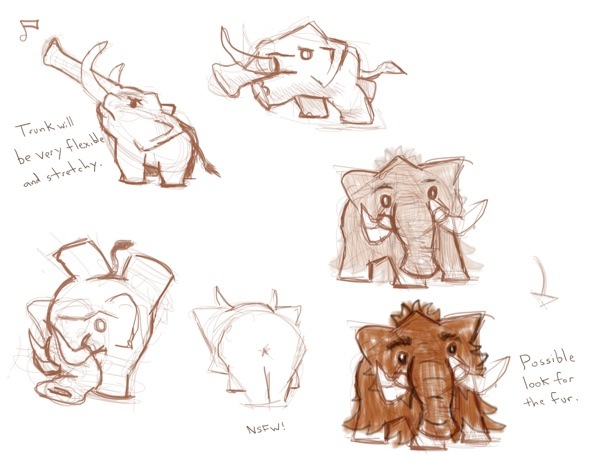
Some more design sketches for Mini Mammoth
Design Considerations So Far:
- The mammoth’s trunk is mostly drawn in an interesting S shape, but I want it to be completely flexible and stretchy, including doing a water-passing-through-a-hose effect. So ultimately, I’ll likely model it in a straight line. When making a rig, it is usually easier to bend straight geometry than it is to straighten bent geometry. This is true when modelling any body part that will need to bend a lot, like a trunk, tongue or tail.
- In some of the drawings I noticed that the tusks will overlap with the mouth, and it will be an important part of how the mouth looks. The trunk and tusks will essentially be the upper lips.
- I’ve learned that there are a wide variety of mammoth and elephant ears. I’ll need to decide how floppy and how big they will be.
- The long tusks of a mammoth make a really beautiful curve. This will be an important part to get right.
- I am imagining giving him a thick coat of fur. How will I do it? There a few ways I could do it. Geometry, Maya hair, separate pieces of geometry? A lot to think about.
- Did you know that elephants have a 3rd eyelid membrane that slides sideways as they blink?
Building a Prototype Model in 3D-Coat
My original sketch wasn’t very detailed, and I wasn’t sure if the shapes I was drawing were even possible in 3D! So I started to model a prototype in 3D-Coat.
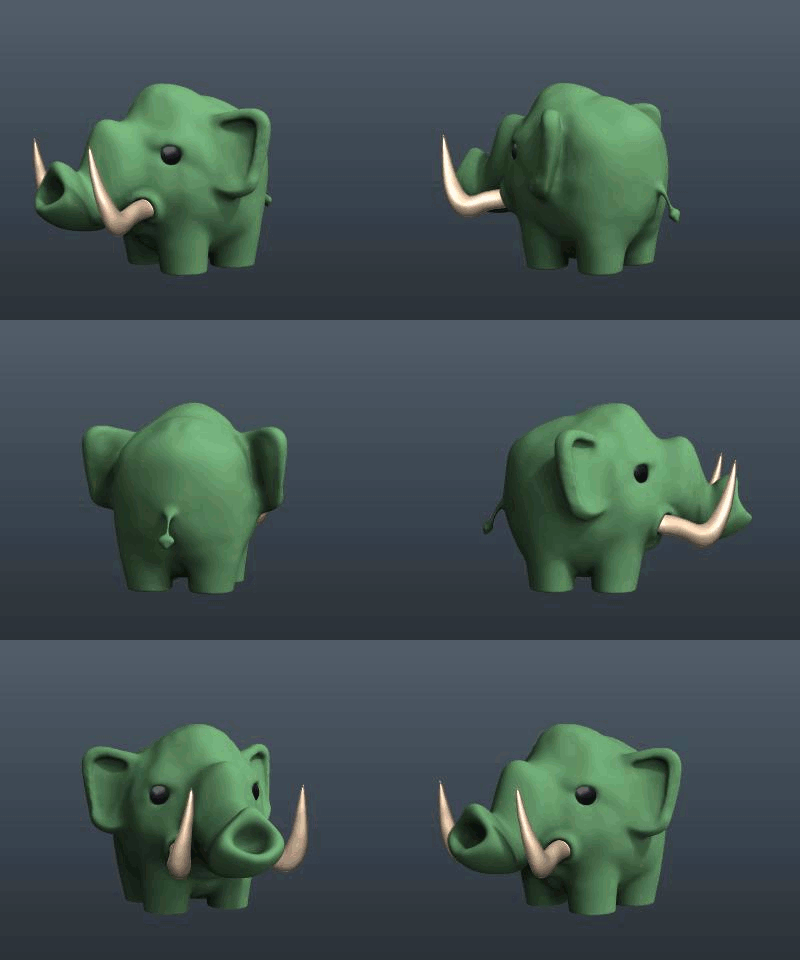
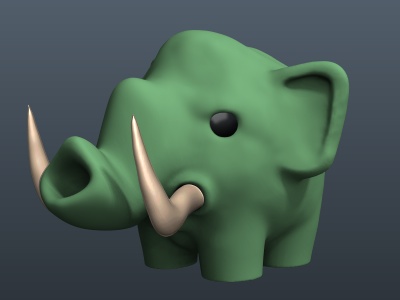
A digital sculpt in 3D-Coat
I really like how it turned out! At this point, I am just playing with shapes in 3D. This is not a final model. A lot of details like the ears will still change a lot so I am not too worried about following the design so far. Its just a 3D doodle.
Digital voxel sculpting in 3D-Coat is a lot of fun! You are very free to push and pull your model and experiment. It feels as loose as drawing, the tools are very intuitive. You can even build an armature (The ‘Curves’ tool) or drop shapes in (The ‘Primitives’ tool) using spheres, squares and cylinders to build up a model very quickly.
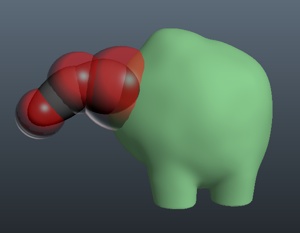
Building an armature in 3D-Coat
Immediately, I began to see some interesting patterns emerge:
- The legs are almost perfect cylinders. I like this a lot. They will bend and stretch, but their default shape will be very simple.
- The trunk makes some really cool undulating waves all the way up to the top of the head.
- The eyebrows need more design work so they don’t look like Groucho Marx. (Though that could be fun too!) Right now he looks angry in a lot of the drawings, but he’ll have a wider range of expressions when I design the facial rigging.
- I like how the foundation of Mini Mammoth is a simple egg shape. But I also started getting some interesting square shapes in the hindquarters. I will hint at real anatomy in the pelvis.
The Lessons
#1. Always use references.
I started out drawing a lot of sketches from my imagination, but the ones I sketched while looking at references of other animals were the ones that solved the most problems and made the design more clear in my mind.
As I said earlier; drawing for design is a problem-solving process. At this point, it is not about creating art. The more I drew from references, the more I realized things that I would have to think about during the modelling and rigging stages.
#2. Don’t Limit Your Inspiration
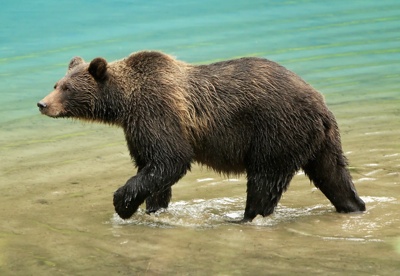
I was looking at one of my drawings and it reminded me of a bear walking. So I studied a few pictures of bears. A bear has a big, lumbering walk with shorter legs than an elephant (just like Mini Mammoth.) So when I go to create a walk cycle, I’ll be largely inspired by bears. Mini Mammoth might look very small but he is going to walk with a big, heavy, camera-shaking gait!
Coming Up Next:
I’ll finalize the design, make a couple of polished drawings, and then go back to 3D-Coat to start the actual modelling. After that, I’ll go through the auto re-topology of the model (an amazing feature of 3D-Coat which generates the polygon edge-loops) and create the texture UV’s for preparing the model to export into Maya.
Until then!
Comments (closed)
Chris: Thanks Lisa. Nice to hear from you. I look forward to getting into the actual rigging and bringing this guy to life.
Lisa Doucet: Chris, I loved reading your lesson. I find it VERY interesting how you manage to break it down into bite-size morsels. I look forward to reading more !
This post is part 2 of the "mini-mammoth" series: